Microbiology: How to Decontaminate an Incubator?
In a microbiology lab, there’s one thing we all dread: cross-contamination. Yes, that witch can strike at any time, whether on the bench or worse… in the incubator!
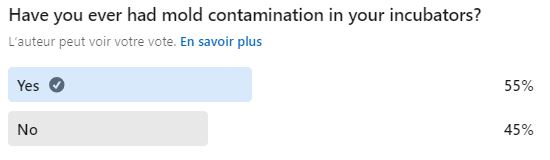
And according to our latest LinkedIn survey, more than half of you have already experienced contamination in your incubator.
A “contaminated” incubator is a disaster. It can ruin a lot of analyses, and getting rid of it is often a nightmare.
To help you prevent, but also cure (decontaminate) this problem, we questioned nearly 20 different microbiology labs to learn about their monitoring and cleaning protocols.
Let’s go!
This article is powered by DEVEA (a big thanks to them!)
DEVEA is a french manufacturer specialized in Airborne Surface Disinfection (ASD).
This technology can disinfect both small surfaces (super handy for our incubators!) and large spaces, even exceeding volumes of 1500 m³.
ASD can be used for curative disinfection, but also … preventive!
How does an incubator get contaminated?
The main culprit is spores. Bacteria, yeast, or molds, although in most cases, it’s the molds having a field day.
Why?
Because the incubator is kind of a luxury hotel for microorganisms. Ideal temperature, ventilation, everything is there for them to spread.
How does it happen?
After a few days of incubation, spores escape from Petri dishes (which are not airtight, by the way), and voilà, cross-contamination.
The spores fly around in the incubator, stick to the walls, and come back to contaminate all your other dishes.
Result: everything must be disinfected. That’s why it’s crucial to monitor and act before it becomes a real spore field.
Discover the 5 BEST Incubators
We polled the SuperMicrobiologists.
Here are their favorite Incubator
How to monitor contamination ?
To avoid disaster, you need to monitor the appearance of contamination and deal with it before it becomes uncontrollable. SuperMicrobiologists employ different strategies for this:
Regular surface sampling
Some labs do a surface sample every week using contact plates (which some call RODAC). They sample the door (inside!), shelves, walls… Acceptable contamination thresholds vary from lab to lab.
For example, one lab tolerates a maximum of 5 microorganisms per contact plate. If it’s more, they clean! Others will clean based on the type of microorganism found (mold).
Negative controls
Some labs use negative controls during incubation. But if the control is contaminated, it’s often too late… meaning the incubator is infested, and that’s when the disinfecting brush comes out!
The microbiologist’s experience
We often joke that a microbiologist can “smell” contamination. Of course, it’s not their nose, but their intuition talking!
If you see more mold than usual during incubation, it’s a warning sign.
The strategy is to isolate the contaminated dishes in sealed containers (like Tupperware) to finish the incubation. Naturally, you don’t reload the incubator with dishes until incubation is over. Once finished, it’s time for a major disinfection.
It’s effective, but you need to be attentive and reactive.
Cleaning and disinfecting an incubator
Each lab has its method, but overall, there are two main cleaning categories:
- Corrective cleaning
- Preventive cleaning
Preventive disinfection
The cleaning frequency depends on what you’re doing in the lab. The average of the labs surveyed? Between once a month and once every two months.
Before cleaning, you can take a surface sample to see where you stand in terms of contamination. This helps adjust the cleaning frequency (perhaps spacing them out a bit more).
The protocol is simple:
- Step 1: Turn off, unplug, and empty the incubator.
- Step 2: Clean, scrub all surfaces. Soak the trays if needed.
- Step 3: Disinfect with a sporicide or use an ASD device.
Our tip: When buying a new incubator, check how easy it is to clean. Wrestling with grids and corners is no fun.
Corrective disinfection
When the incubator is full of mold, panic sets in!
We rarely have backup incubators, so when one is out of order, you must act quickly to get it back up and running. It’s essential to have a disinfection procedure in place (before contamination!) to act fast.
The procedure starts the same as preventive cleaning: empty, unplug, clean, disinfect (sporicide is mandatory). It’s important to clean the small hooks that hold the trays or grids (we know, it’s a hassle, but it’s important!).
The next step is fumigation or airborne surface disinfection (ASD).
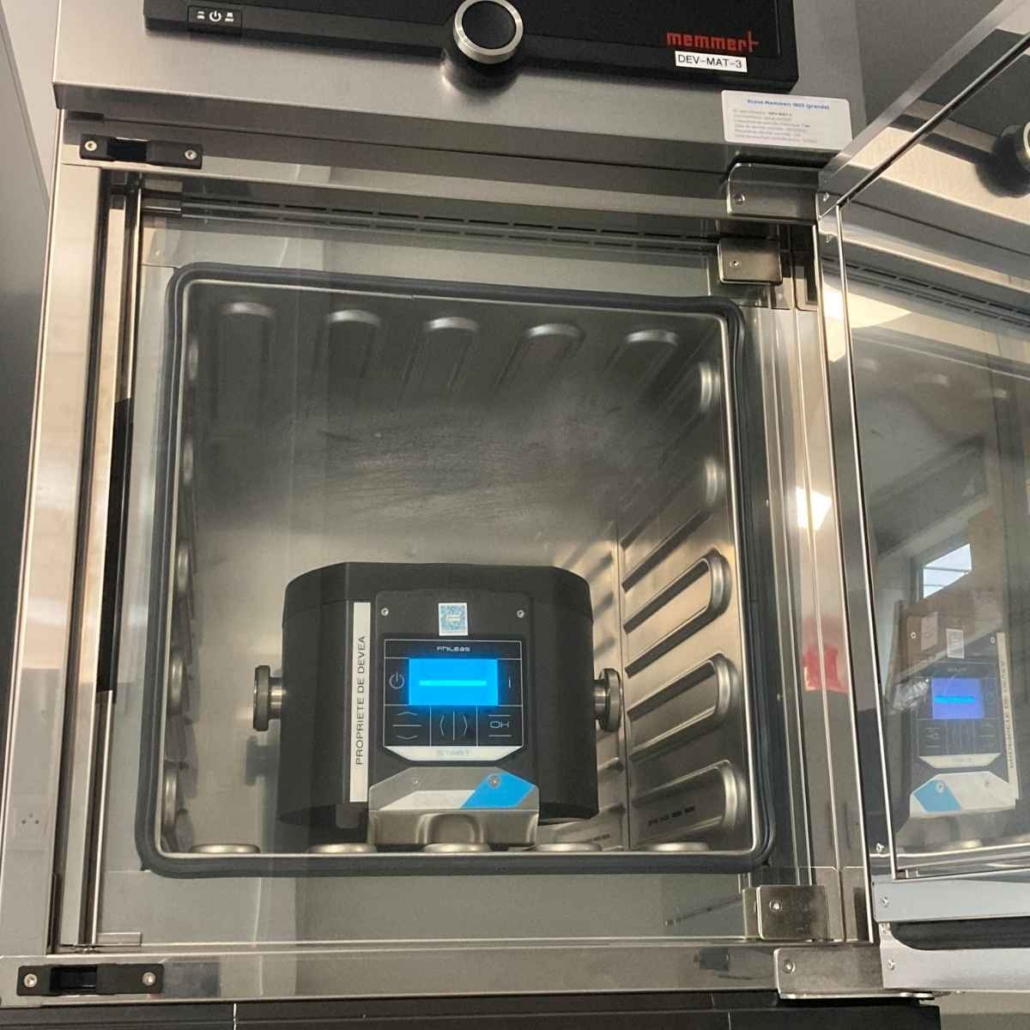
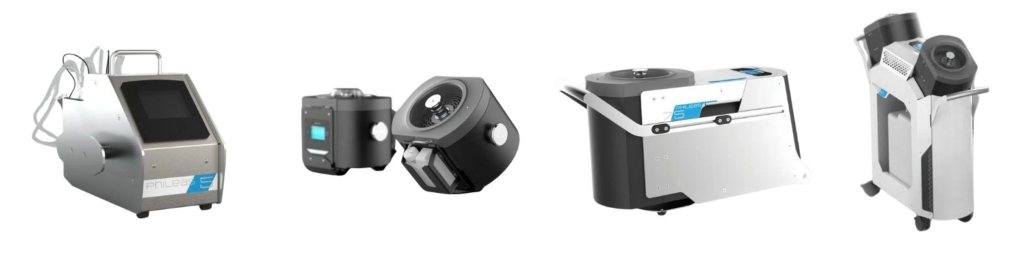
The PhileasⓇ Genius is an ASD device which has been specifically designed to disinfect laboratory incubators used in microbiology. It can handle incubators ranging from 0.5 to 5 m³, meaning it’s suitable for all sizes and types of microbiology incubators!
The system works simply: using a disinfectant, the PhileasⓇ Genius generates a fog of micro-droplets through centrifugation. These droplets settle on all surfaces of the incubator, even hard-to-reach areas like behind the grills, effectively decontaminate the entire unit.
With proven effectiveness (validated through tests on numerous microorganisms and an approved marketing authorization), ease of use, and safety (low-concentration biocide), it’s the perfect combo for microbiology labs.
So no, this device won’t save you from having to “tidy up and clean” your incubator (you better stop dreaming !), but it will handle the complete decontamination for you… which isn’t too shabby!
As a final disinfection step, some labs run a 12-hour cycle at 95°C… assuming the incubator can handle it.
In extreme cases, some labs have had to dismantle their incubator to clean the inside. You wouldn’t believe what they found behind the walls!
After a major contamination, it’s recommended to do a surface sample before reusing the incubator. It takes a bit of time, but it can save you a lot of trouble if the contamination isn’t completely under control.
Conclusion
In short, the best way to avoid the hassle of well-established contamination is to focus on prevention and carefully monitor your incubators.
So, do regular checks, clean often, and your incubator will thank you!
Special thanks to Christian Turmel, Katharina Pegeot Dewancker, Pauline Schaaf, Philippe Chabeaud, Matthieu Fraudeau, Alexandra Foucher, Benedict Guillard, and all the other SuperMicrobiologists!


Leave a Reply
Want to join the discussion?Feel free to contribute!