Microbiology: How to Choose the Best Incubator?
Microbiology labs around the world have one thing in common… they all use incubators. Often, even more than one!
Without incubator, there would be no standardized analysis, no bacteria, and no lab microbiology. The incubator is THE microbiologist’s essential tool.
But here’s the thing, not all incubators are the same. In this article, we’ll give you 10 tips to help you choosing the right incubator for your lab.
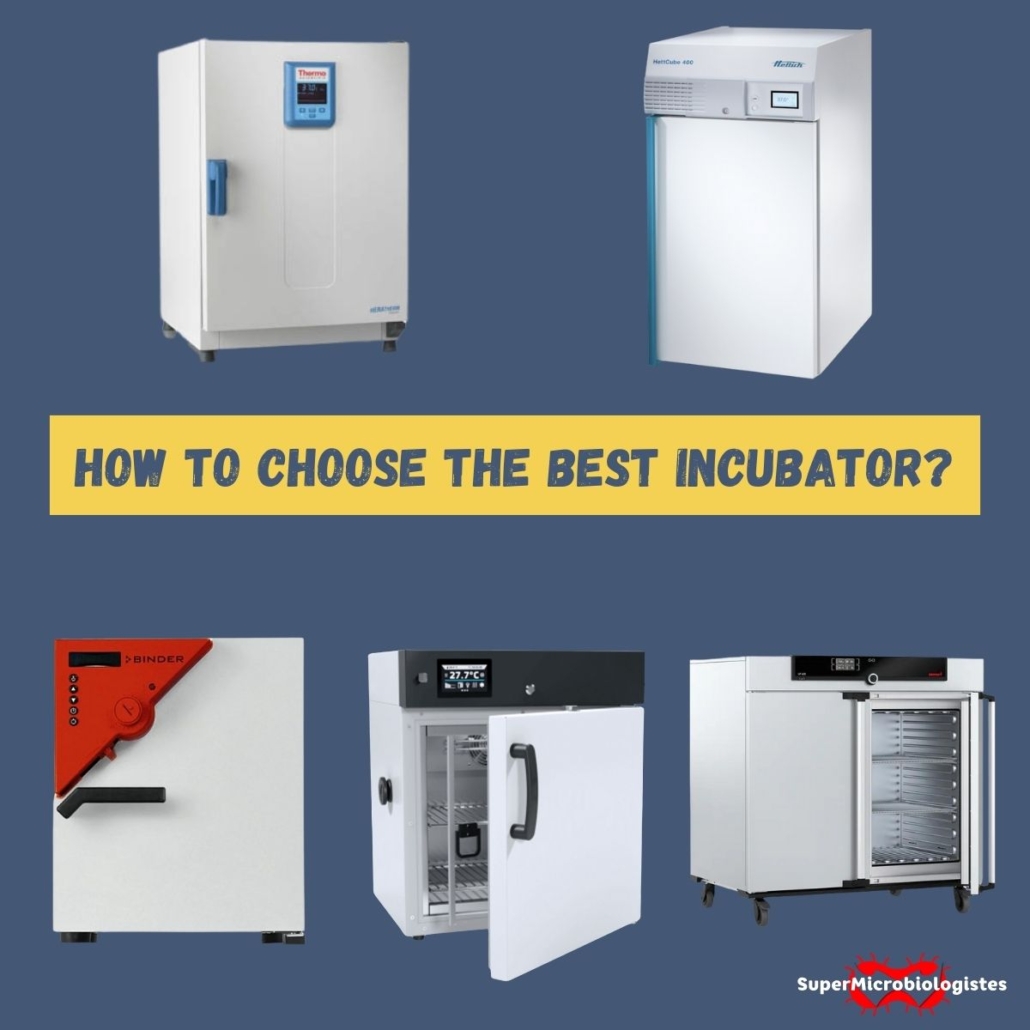
Discover the 5 BEST Incubators
We polled the SuperMicrobiologists.
Here are their favorite Incubator
What is a microbiology incubator?
Asking this on the SuperMicrobiologists website might sound like a silly question… but hey, maybe there are some chemists around! 😄
So, let’s define it (in our own way):
A microbiological incubator is a large box that maintains a precise temperature to help microorganisms grow on culture media (like Petri dishes or enrichment broths).
This box helps standardize the temperature, and therefore the incubation time.
Since each microorganism has its own ideal temperature, labs often have several incubators set at different temperatures.
Examples:
- Mesophilic bacteria: 30-35°C
- Thermophilic bacteria: 55°C
- Yeasts and molds: 20-25°C
10 tips for choosing the best microbiological incubator
Now that we know what an incubator is (wink!), here are the factors to consider when choosing the RIGHT incubator!
1 – Incubation temperature
The first question to ask is: What temperature do you need to incubate your cultures? Based on this, you’ll either need a refrigerated incubator or not.
Generally, if you require a temperature lower than room temperature +5°C, a refrigerated incubator will be needed.
Example :
If your ambiant temperature is 22°C and you need to set up your incubator at 25°C, a refrigerated incubator is essential to maintain a stable temperature.
If you want to lower the temperature over the weekend to slow down microorganism growth, you’ll also need a programmable refrigerated incubator.
Example :
You incubate your plates at 37°C for 3 days, but the third day falls on a Saturday… Oh no, you’ll miss your kid’s soccer game! Don’t worry. With a programmable refrigerated incubator, you can lower the temperature to 4°C to stop microbial growth. Goal by Lionel! ⚽
Advantages of a refrigerated incubator: A wider temperature range, making it more versatile.
Disadvantages of a refrigerated incubator: Bigger (due to the refrigeration system) and more expensive.
Our tip: Consider your lab’s ambient temperature, your desired setting, and your precision needs (+/- x°C).
2 – Incubator size
In microbiology labs, space is precious. And an incubator takes up a lot of it. In some labs, it’s like a game of Tetris, but remember: here, the lines don’t disappear!
External size:
Will it fit through your lab’s doors?
Will it fit in the available space? Don’t forget to check the space once the incubator door is open. Some incubator doors, when open, take up more space, preventing you from placing it near another incubator or against a wall.
Internal usable space:
The “usable space” is where the temperature is guaranteed to be even. This is usually smaller than the “incubator’s internal volume”.
There can be big differences between suppliers in this regard. For the same external size, the usable space can vary significantly!
Our tip: Ask the supplier how many containers (Petri dishes, enrichment bags, bottles) the incubator can hold.
Consider racks to optimize space—they may be costly but are super handy.
3 – Microbiological incubator performances
A good incubator must maintain a stable and even temperature at every point. The Petri dish at the top right must be at the same temperature as the one at the bottom left.
There are two technologies for this: forced convection and natural convection (we’ve written a whole article about this).
In short:
- Forced convection: Ideal for large volumes. Make sure the fan speed is adjustable, as this helps prevent drying out of the culture media… though it slightly reduces even temperature distribution.
- Natural convection: Recommended for smaller volumes or long incubations (over 5 days).
For forced convection, can the fan speed be adjusted? It helps reduce drying… although somewhat at the expense of uniformity.
Our tip: Ask the supplier about temperature variations over time and across the space (+/- x°C) for your set temperature (both empty and full incubator). Compare these with your metrology requirements.
4 – Incubator programming
(Only relevant if you use cooling cycles on weekends and holidays)
Some models have complicated programming. And when it’s complicated, people either don’t use it or do it wrong!
Our tip: Test the programming software and make sure it’s available in your language.
5 – Microbiological incubator decontamination
One day, your incubator will get contaminated. The good news is that it can be disinfected, and we’ve already written an article about that!
Some incubators are easier to clean than others. The fewer grids, holes, and corners there are, the better. More flat surfaces make cleaning easier.
Some microbiologists run disinfection cycles by raising the incubator’s temperature to 100°C for several hours. So, it might be useful to have an incubator that can reach 100°C!
Our tip: Ask for pictures of the incubator’s interior. If you can see one in person, that’s even better.
6 – Door opening system
The less you open the incubator, the better for temperature stability. But an incubator you never open is… useless.
It’s important to feel comfortable with the door—both opening and closing it. A poorly closed door can ruin the incubation process!
Our tip: Test the door opening and closing system in real conditions, meaning with your hands full! 😊 Glass doors can reduce unnecessary openings.
7 – Microbiological Incubator durability
A good incubator should last for several years (between 7 and 10, depending on use).
There’s nothing like feedback from other microbiologists to find out which brand is the most reliable.
Feel free to ask us or read our article on the subject.
8 – Incubator energy consumption
An incubator runs 24/7 (sorry, no unplugging at night!). This leads to high electricity use, and with current energy costs, the bill can quickly add up, especially if you have multiple incubators!
Today, more and more labs consider this factor, as differences between brands can be significant.
Compare consumption (in kWh/h), but be aware, just like with cars, real consumption is often higher than advertised.
Our tip: Test the incubator under real conditions with a wattmeter to assess energy use. It’s worth spending time on this point. The real cost of an incubator is its purchase price plus its operating costs.
9 – Pre-sales service
You don’t just buy a new incubator from a catalog.
If the sales rep visits to show the product, check your lab space (make sure it fits through the doors), and ask about your applications, that’s a great sign!
10 – Incubator installation
Installing and using an incubator is simple, but it’s even better if the supplier takes care of it, especially for the first setup of a new brand.
By the way, for a smooth installation, lockable wheels are a great option. They make installation easier and allow for cleaning behind the unit.
Our tip: Ask who will handle the installation, setup, and training. And definitely get the wheel option!
Bonus – After-sales service
Breakdowns happen. What matters is that they get fixed quickly. Here are some questions to ask the supplier:
- Who handles repairs? The brand, a distributor, or a subcontractor?
- What are the response times?
- Where are spare parts stored?
A warranty longer than 2 years is usually a good sign.
Conclusion
Now you’re ready to ask your favorite suppliers all the right questions. Good luck finding the perfect incubator for your microbiology lab!
If you have any questions, feel free to ask in the comments.


Leave a Reply
Want to join the discussion?Feel free to contribute!